


Direct-to-Film (DTF) transfers have revolutionized printing in automotive and signage industries with their precision, vibrant colors, and ease of application. To initiate DTF transfers, set up a workspace, prepare materials, and calibrate heat settings accurately. Heat is crucial for bonding; preheat your press to manufacturer-recommended temperatures and avoid air bubbles between the film and substrate. Follow manufacturer guidelines and test on scrap material to prevent overheating or insufficient heating issues. Meticulous printing process management, including printer calibration, high-resolution images, and compatible ink selection, ensures high-quality, durable DTF prints true to design vision.
Looking to master the art of applying direct-to-film (DTF) transfers? This comprehensive guide unravels the secrets behind achieving crisp and durable DTF prints. From understanding the basics of DTF technology to mastering heat settings, preparing your workstation, and avoiding common mistakes, we’ve got you covered. Elevate your DTF printing game with proven tips for optimal quality and longevity.
- Understanding Direct-to-Film (DTF) Transfers: A Brief Overview
- Preparing Your Workstation and Materials for DTF Printing
- Heat Settings: The Key to Achieving Crisp and Durable DTF Prints
- Step-by-Step Guide: Applying Heat During the Transfer Process
- Common Mistakes to Avoid When Heating DTF Transfers
- Tips for Optimal DTF Print Quality and Longevity
Understanding Direct-to-Film (DTF) Transfers: A Brief Overview
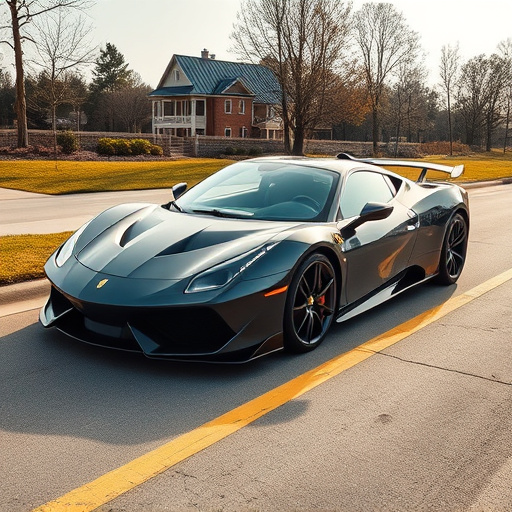
Direct-to-Film (DTF) Transfers are a cutting-edge printing technique that has revolutionized the way we apply graphics to various surfaces, especially in the automotive and signage industries. This innovative process involves transferring designs or images directly onto film, which is then applied to the desired substrate, such as vehicles, windows, or walls. DTF Printing offers unparalleled precision and clarity, ensuring that prints are vibrant and long-lasting.
Unlike traditional printing methods, DTF avoids the need for intermediate steps like plates or screens. The design is digitally printed onto a special transfer film, allowing for intricate details and high-resolution images. This technology enables businesses to create custom designs swiftly, making it an attractive option for dynamic signage, promotional materials, and personalized vehicle graphics. DTF Transfers have gained popularity due to their ease of application, exceptional quality, and the ability to produce complex artwork with relative ease.
Preparing Your Workstation and Materials for DTF Printing

Before you begin applying direct-to-film (DTF) transfers, ensuring your workstation and materials are prepared is paramount. Start by setting up a clean, well-lit workspace with ample room for your project. Gather all necessary equipment, including your DTF printer, heat press machine, and the film transfer sheets specifically designed for DTF printing. Verify that your prints are properly aligned and positioned on the transfer sheet, ensuring accuracy in the final application.
Prepare any additional supplies such as heat-resistant mats or cloths to protect your work surface from heat transfer and debris. Consider having a bottle of cool water nearby to quickly alleviate any accidental scorching. Lastly, ensure proper ventilation in your workspace, as DTF printing involves high temperatures that can be hazardous without adequate air circulation.
Heat Settings: The Key to Achieving Crisp and Durable DTF Prints

Heat settings play a pivotal role in achieving crisp and durable DTF (Direct-to-Film) prints. The right temperature and pressing time ensure that the transfer is firmly applied to the substrate, preserving its quality and longevity. Too low a heat might result in an incomplete transfer, leading to faint or distorted prints. Conversely, excessive heat can burn or damage the film or the substrate, causing the colors to fade or the material to warp.
For optimal DTF printing, it’s crucial to calibrate your heat settings precisely. Start with the manufacturer’s recommended temperature range and adjust from there based on your specific film type, printer model, and desired print quality. Using a heat press thermometer can help you maintain consistent temperatures during the pressing process, ensuring each transfer is applied under ideal conditions. This attention to detail will significantly enhance the overall aesthetics and durability of your DTF prints.
Step-by-Step Guide: Applying Heat During the Transfer Process

Applying heat is a crucial step in the DTF transfer process, ensuring a secure and long-lasting bond between the design and the substrate. Here’s a step-by-step guide to help you master this technique:
1. Preheat your press or iron to the recommended temperature for your specific DTF film. Different materials have varying ideal heat settings, so always refer to the manufacturer’s instructions. This precise preheating is vital to ensure even heating across the entire transfer.
2. Place the substrate (the item you want to apply the design to) on a flat surface, ensuring it’s clean and dry. Then, carefully position the DTF transfer film with the design facing down, aligning it precisely with your substrate. Heat is applied through the backing paper of the DTF film, so ensure no air bubbles are trapped between the film and the material.
Common Mistakes to Avoid When Heating DTF Transfers

When applying direct-to-film (DTF) transfers, heating is a crucial step that requires precision to avoid common pitfalls. One of the most frequent mistakes is overheating, which can cause the DTF print to bubble, warp, or even lift from the substrate. Always follow the manufacturer’s guidelines for temperature and time settings to ensure optimal results. Using a thermometer to monitor the heat application can prevent excessive heating.
Another error to steer clear of is insufficient heating. Inadequate heat might result in poor adhesion, with the DTF transfer not bonding correctly to the surface. Test the heat application on a scrap piece of material before finalizing your project to ensure the DTF print adheres securely. The key is finding the perfect balance—applying just enough heat to activate the adhesive without overdoing it.
Tips for Optimal DTF Print Quality and Longevity
Achieving optimal quality and longevity with direct-to-film (DTF) transfers requires careful consideration during the printing process. The key lies in understanding your printer’s capabilities and settings, as well as the characteristics of the DTF material you’re using. Start by ensuring your printer is calibrated accurately; this guarantees consistent color reproduction across each print job.
When preparing your design for DTF printing, use high-resolution images (300 DPI or higher) to capture intricate details. Consider the ink type and its compatibility with your film; different inks may have varying levels of adhesion and durability. Additionally, pre-testing on a small scale can help identify any potential issues, ensuring that your final prints will be vibrant, long-lasting, and true to your design vision.