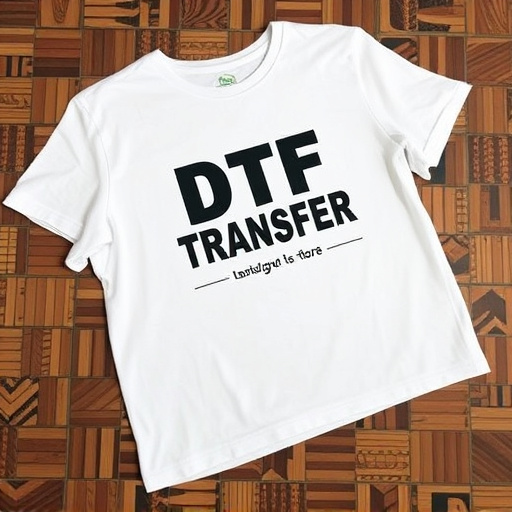


"DTF Prints: Transforming Digital Art with Direct-to-Fabric Technology"
DTF (Direct to Fabric) printing is revolutionizing digital art by enabling artists to create vibrant, durable prints on various fabrics. This technology offers a versatile approach, catering to diverse clients from businesses to individuals seeking high-quality, on-demand solutions. The process involves precise heat control and surface preparation to ensure optimal results, addressing common issues like adhesion problems and color shifts. By mastering DTF techniques, artists can bring their creative visions to life, enhancing our daily interaction with digital art.
“Unleash the power of direct-to-film (DTF) transfers and achieve flawless results with the right heat settings. This comprehensive guide is your go-to resource for mastering the art of DTF prints. From understanding the fundamentals to calibrating your tools, we break down the intricate factors affecting heat settings.
Learn how to prepare your workstation and materials, then follow our step-by-step application process for optimal results. Finally, discover tips to troubleshoot common issues, ensuring you create stunning DTF prints every time.”
- Understanding Direct-to-Film (DTF) Transfers: A Basic Overview
- Factors Affecting Heat Settings for DTF Prints
- Preparing Your Workstation and Materials
- Calibrating Your Heat Gun or Press
- Step-by-Step Application Guide for Optimal Heat Settings
- Troubleshooting Common Issues with DTF Prints
Understanding Direct-to-Film (DTF) Transfers: A Basic Overview

Factors Affecting Heat Settings for DTF Prints
When setting the heat for applying direct-to-film (DTF) transfers, several factors come into play. The type of film and ink used significantly influences the optimal temperature and pressure required. Different materials have varying levels of heat resistance and adhesion properties, so understanding the compatibility of your chosen transfer material with the print surface is crucial. For instance, lighter fabrics may need lower heat settings to prevent burning or damaging the original fabric texture.
Additionally, the thickness of the film and the design intricate details play a role. More complex designs with thicker films might demand higher heat levels to ensure complete fusion with the substrate. Environmental conditions, such as humidity and air temperature, can also affect heat settings. Moisture can impact the ink’s behavior and adhesion, so adjustments might be necessary based on your workshop’s climate.
Preparing Your Workstation and Materials

Before you begin applying direct-to-film (DTF) transfers, it’s crucial to prepare your workstation and gather all necessary materials. Set up a clean, well-lit workspace with ample space for your project. Ensure your work surface is free from dust or debris that could affect the quality of your prints. Gather all required tools, including your DTF printer, heat press machine, transfer films, and any additional accessories. Verify that your materials are compatible with each other to guarantee optimal results.
Organize your workspace by placing your DTF prints, heat press, and other equipment within easy reach. Prepare your heat press machine according to the manufacturer’s instructions, ensuring it is set at the appropriate temperature range for applying transfers. Double-check the quality of your transfer films, looking for any defects or damage that could impact the final print. Have a clean cloth or paper handy to wipe away excess heat and ensure precise application.
Calibrating Your Heat Gun or Press

Calibrating your heat gun or press is a critical step in achieving optimal results for Direct-to-Film (DTF) prints. Before applying any transfers, ensure that your temperature control is precise and accurate. Most heat guns come with adjustable settings, allowing you to set the desired temperature for different types of film and materials. Start by referring to the manufacturer’s instructions or online resources specific to your model, as calibration methods may vary.
A good practice is to test the heat gun on a scrap piece of material similar to what you’ll be using for your DTF prints. By doing so, you can fine-tune your settings and gain a better understanding of how the heat interacts with the film. This preparation ensures consistent results and minimizes the risk of damaging your final prints or transfers.
Step-by-Step Application Guide for Optimal Heat Settings
Troubleshooting Common Issues with DTF Prints

Direct-to-film (DTF) prints can be a fantastic way to achieve high-quality, long-lasting results, but like any process, they’re not without their occasional hiccups. If you’re running into issues with your DTF prints, don’t panic! Common problems include poor adhesion, color shifting, or print distortion. These often stem from factors like improper heat settings, surface preparation, or ink compatibility. To troubleshoot, start by double-checking your heat settings; ensure they match the manufacturer’s recommendations for your specific film and substrate combination. Inconsistent or incorrect heating can lead to a range of issues, from bubbles and wrinkles to a weak bond between the film and your target material.
Next, consider the surface you’re applying the transfer to. Cleanliness is key; any residual oils, dust, or moisture can impede adhesion. Lightly sanding or using a suitable cleaner can help create a rougher surface, improving grip. Additionally, ensure your inks are compatible with both the film and substrate. Ink compatibility issues can cause color shifting or fading over time, so always choose products designed for DTF applications. If problems persist, consult the manufacturer’s guidelines or seek advice from the community—there’s often a solution waiting to be discovered!