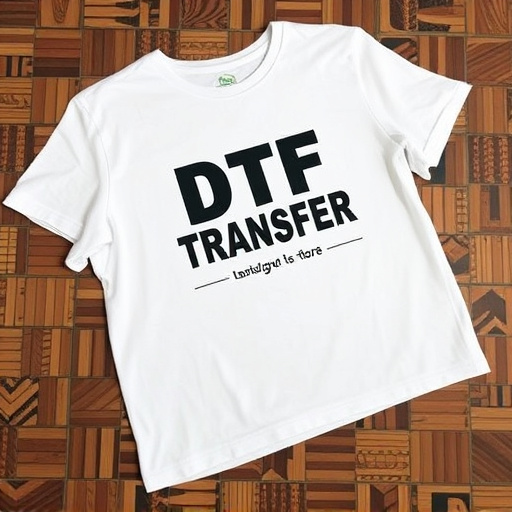


Direct-to-Film (DTF) transfers have revolutionized printing by enabling high-quality prints on diverse surfaces. This method combines traditional layers into one process, offering speed, efficiency, and versatility. Key to successful DTF is selecting optimal heat settings for each material, ensuring vibrant, long-lasting prints without ink bleeding. Preheating the work surface to 40-50°C (104-122°F) prepares it for bonding. Applying heat requires a controlled pattern, maintaining pressure, and removing heat when the film is secure. Regular calibration and the right settings prevent common issues like color replication or substrate burn, ensuring consistent DTF printing results.
“Mastering the art of heat settings is key to achieving exceptional results with Direct-to-Film (DTF) transfers. This guide delves into the intricacies of DTF printing, offering a comprehensive overview for enthusiasts and professionals alike. From understanding the fundamentals of DTF transfers to troubleshooting common issues, you’ll learn how temperature, time, and pressure interplay to create high-quality DTF prints. Optimize your heat settings, prepare your workspace, and discover a step-by-step approach to achieving flawless DTF applications.”
- Understanding Direct-to-Film (DTF) Transfers: A Brief Overview
- Choosing the Right Heat Settings for Optimal DTF Transfer Quality
- Factors Affecting Heat Application: Temperature, Time, and Pressure
- Preheating and Prepare Your Work Surface for DTF Printing
- Step-by-Step Guide to Applying Heat for Successful DTF Transfers
- Troubleshooting Common Issues with DTF Heat Settings
Understanding Direct-to-Film (DTF) Transfers: A Brief Overview

Direct-to-Film (DTF) Transfers are a cutting-edge method in the world of printing and imaging, offering an innovative way to create high-quality prints directly on various surfaces, including film. This technique has revolutionized the process of applying graphics and designs onto materials, providing a fast, efficient, and versatile solution. Unlike traditional printing methods that require separate layers for ink and laminating films, DTF transfers combine these steps into one seamless process.
The beauty of DTF lies in its ability to produce vibrant, long-lasting prints on a diverse range of substrates, from vinyl and polyester to fabric and even metal. This technology uses specialized inks and a precise heating process to bond the design directly onto the target material. By carefully controlling heat settings, users can ensure optimal adhesion, prevent ink bleeding, and achieve exceptional color accuracy in their DTF prints.
Choosing the Right Heat Settings for Optimal DTF Transfer Quality
When applying direct-to-film (DTF) transfers, selecting the optimal heat settings is paramount to achieving superior transfer quality. The right temperature and pressure must be applied for a successful DTF print, ensuring the design fuses securely with the film surface. Exceeding the recommended heat range can lead to unwanted effects like melting or burning the film, while insufficient heat may result in an incomplete transfer, causing printing issues and reduced durability.
For precise control, it’s advisable to start with the manufacturer’s suggested temperature settings as a baseline. Adjustments should be made incrementally, based on factors such as the specific DTF material, print complexity, and desired outcome. Regular testing on scrap materials allows for fine-tuning heat settings, guaranteeing optimal results for your final DTF prints.
Factors Affecting Heat Application: Temperature, Time, and Pressure

When applying direct-to-film (DTF) transfers, the heat application process is a precise art that depends on several key factors. The primary variables to consider are temperature, time, and pressure. Each of these plays a crucial role in ensuring the DTF print adheres properly to the desired surface while preserving the quality and vibrancy of the design.
Temperature is critical as it determines how quickly the transfer melts and fuses with the substrate. Different materials require specific heat settings; too low and the ink might not bond adequately, while excessive heat can cause the film to warp or damage the underlying surface. Time is equally important, as allowing insufficient time for heating can result in incomplete bonding, whereas overdoing it may lead to unwanted discoloration or loss of detail. Pressure, though less discussed, ensures firm contact between the transfer and substrate, enhancing even heat distribution and adhesion.
Preheating and Prepare Your Work Surface for DTF Printing

Before applying any direct-to-film (DTF) transfers, it’s crucial to preheat your work surface and ensure it’s properly prepared. This step is essential to achieve crisp, clear DTF prints. Begin by cleaning your work surface thoroughly to remove any dust or debris that could affect the adhesion of the transfer. A smooth, flat surface is ideal for DTF printing; consider using a glass table or a high-quality, non-porous board to ensure optimal results.
Next, preheat your work surface to the recommended temperature specified by the manufacturer of your DTF transfer film. This usually involves heating the surface to around 40-50°C (104-122°F) for a few minutes. Proper preheating ensures that the adhesive on the back of the DTF transfer activates effectively, creating a strong bond with the target material when pressed.
Step-by-Step Guide to Applying Heat for Successful DTF Transfers
Applying heat is a critical step in achieving high-quality direct-to-film (DTF) transfers. Here’s a straightforward guide to ensure optimal results:
1. Preparation: Begin by ensuring your work area is clean and free from debris or dust. Place the DTF transfer film onto the desired substrate, aligning it accurately with the design you want to reproduce. Then, prepare your heat tool – typically a heat press or hot air gun – to the recommended temperature for your specific DTF printing material. Different films have different ideal temperatures, so always refer to the manufacturer’s instructions.
2. Heat Application: Gradually apply heat to the transfer film, following a controlled and consistent pattern. For most DTF prints, a slow and steady approach is best, ensuring even heating of the entire design area. Maintain pressure as you heat to create a strong bond between the film and substrate. The duration will vary depending on your equipment and material, but it’s crucial to monitor the process closely to avoid over-heating or burning the transfer. Remove the heat source when the film appears secure and is no longer transparent, indicating successful lamination.
Troubleshooting Common Issues with DTF Heat Settings

When applying direct-to-film (DTF) transfers, troubleshooting common issues with heat settings is crucial for achieving high-quality DTF prints. One of the most frequent problems is uneven heating, leading to poor color replication or fading on the final product. This can often be attributed to inconsistent temperature distribution across the print surface or using the wrong heat setting for your specific film type. Regularly calibrating your heat press and ensuring it maintains precise temperatures according to the manufacturer’s guidelines is essential.
Another issue to watch out for is over-heating, which can cause the DTF transfer to bubble, wrinkle, or even burn the substrate. This typically occurs when the heat setting is too high or the pressing time is extended beyond the recommended duration. Adjusting your heat settings accordingly and using a suitable heat press with good temperature control will help prevent these problems. Additionally, allowing adequate cooling time between applications can significantly reduce the chances of overheating and ensure consistent DTF printing results.