


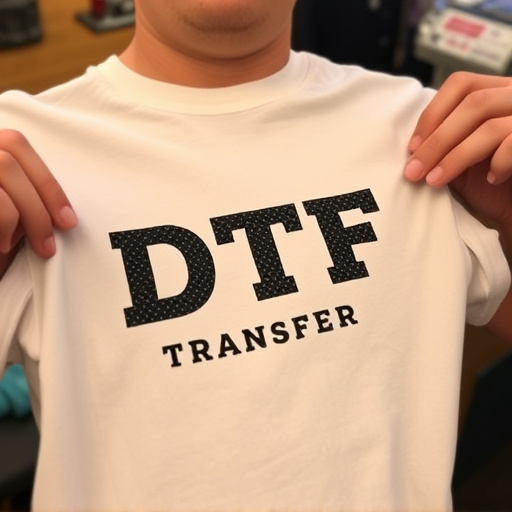
Direct-to-Film (DTF) transfers offer a cutting-edge printing method for creating high-quality, durable prints on various materials. To begin, prepare your workspace and gather materials, ensuring suitable design files and storage for DTF film. Heat application is crucial; use a hot press or heat guns with precise temperature control to fuse the print onto surfaces between 130°C to 180°C. Practice on scrap material for optimal results. After heating, allow the print to cool gradually and handle it carefully to prevent damage. Maintain quality by storing DTF prints in a clean, flat area protected from sunlight and moisture. Optimal pre-heating (140°C – 160°C) and consistent pressure (5-10 psi) for 30-60 seconds ensure precise, long-lasting DTF transfers.
Looking to master the art of direct-to-film (DTF) transfers? This comprehensive guide is your go-to resource for achieving flawless DTF prints. From understanding the basics of DTF technology to mastering heat application techniques and common pitfalls to avoid, we’ve got you covered. Learn how to prepare your workstation, ensure optimal heating, and provide proper post-heating care for lasting DTF transfers. Discover expert tips for achieving high-quality results, making your DTF printing process a breeze.
- Understanding Direct-to-Film (DTF) Transfers: A Brief Overview
- Preparing Your Workstation and Materials
- Heat Application Techniques for Optimal DTF Transfer
- Common Mistakes to Avoid During the Heating Process
- Post-Heating Care and Handling of DTF Prints
- Tips for Achieving High-Quality, Lasting DTF Transfers
Understanding Direct-to-Film (DTF) Transfers: A Brief Overview

Direct-to-Film (DTF) transfers are a cutting-edge method in printing that allows for high-quality imaging directly onto various film materials. This innovative process enables the creation of durable and visually stunning prints, making it a popular choice among artists, designers, and hobbyists. DTF involves transferring ink directly from a digital image to a film surface without the need for intermediate keys or plates, resulting in precise details and vibrant colors.
DTF technology offers numerous advantages, including fast production times, cost-effectiveness, and versatility in terms of substrate choices. It is particularly favored for applying direct prints on materials like vinyl, canvas, and even metal surfaces. This technique has revolutionized the way artists reproduce their artwork, providing an accessible and efficient method to create multiple, accurate copies while maintaining the original’s aesthetic integrity.
Preparing Your Workstation and Materials

Before you begin applying direct-to-film (DTF) transfers, it’s crucial to prepare your workstation and gather all necessary materials. This process requires a dedicated space with good lighting and a clean, flat surface for your work. Ensure your DTF transfer film is stored properly, away from direct sunlight or extreme temperatures, to maintain its integrity.
Gather essential tools like a precision cutting knife, a heat press machine set at the appropriate temperature, and a transparent protective sheet. Prepare your design files on a computer, ensuring they are in the correct format (often PNG or JPEG) and resolution for DTF printing. Double-check that your materials are compatible with the film type you’re using to guarantee optimal results for your DTF prints.
Heat Application Techniques for Optimal DTF Transfer

When applying direct-to-film (DTF) transfers, heat application is a critical step for achieving optimal results. The primary technique involves using a hot press to fuse the DTF print onto the desired surface. Preheat the surface to a temperature range suitable for the specific DTF material, typically between 130°C to 180°C (266°F to 356°F). Press the transfer firmly with even pressure for several seconds, allowing heat and pressure to bond the design permanently.
For precise control, some professionals use heat guns or heat plates, adjusting temperature and application time based on the DTF product’s instructions. This method offers greater flexibility but requires skill to avoid over-heating or uneven application. Practicing with scrap materials first can help master the technique, ensuring crisp, long-lasting DTF prints without bubbles, wrinkles, or discoloration.
Common Mistakes to Avoid During the Heating Process

When applying direct-to-film (DTF) transfers, heating is a critical step that requires precision to achieve high-quality prints. Common mistakes often arise due to lack of awareness or proper technique, leading to unsatisfactory results. One of the most frequent blunders is exceeding the recommended heat levels, which can cause the DTF transfer to bubble, peel, or even burn, resulting in distorted prints and a waste of materials. Heat settings should always be adjusted according to the specific film and garment combination, as different combinations have varying requirements.
Another mistake to avoid is insufficient heating. Inadequate heat prevents the DTF transfer from properly adhering to the substrate, leading to faint or incomplete prints. It’s crucial to allow enough time for the heat to permeate through the film and bond with the garment. Always follow the manufacturer’s guidelines and consider testing on scrap materials before applying the transfer to your final product, ensuring optimal heating conditions for DTF printing.
Post-Heating Care and Handling of DTF Prints

After applying direct-to-film (DTF) transfers and heating them to ensure proper bonding with the substrate, post-heating care is crucial for maintaining the quality of your DTF prints. Allow the printed material to cool down gradually before handling or cutting it. Rushing this process may cause warping, bubbling, or even adhesion issues with the backing film. Once cooled, carefully peel away the backing film, ensuring that the transfer stays intact on the substrate.
Handle DTF prints with care to prevent smudging or damaging the delicate ink layers. Use clean, dry hands or soft tools like spatulas or wipers designed for this purpose. Avoid direct contact with the printed surface, as it can leave fingerprints or cause accidental transfers to other surfaces. Proper storage is also essential; keep your DTF prints in a clean, flat location away from direct sunlight and excessive moisture to prevent fading or delamination.
Tips for Achieving High-Quality, Lasting DTF Transfers
Achieving high-quality, lasting direct-to-film (DTF) transfers requires a few key tips. First, pre-heating the film to the correct temperature is essential for optimal adhesion and durability. Ensure your heat press or iron reaches the recommended temperature for your specific DTF transfer material, typically between 140°C – 160°C (284°F – 320°F). Precise temperature control guarantees a secure bond between the design and substrate without causing damage to either.
Second, proper application of pressure is crucial. Use a sufficient amount of pressure during the pressing process, usually around 5-10 pounds per square inch (psi), to ensure good contact between the film and surface. Maintain consistent pressure throughout the transfer duration, typically 30-60 seconds, for best results. Timely exposure ensures that all elements of the DTF print are accurately transferred onto the desired substrate.